How to create custom error pages for your web hosting account and to make it your own with our easy-to-follow instructions.
Unless you have installed a Content Management System (e.g. WordPress) that is pre-installed with custom error pages, visitors reaching your website will get the default error pages if they access a non-existing page. This is very common with 404 – page not found errors.
Sometimes, you may need to edit these error pages to match the look and feel of your website. The procedure is quite simple if you have cPanel on your hosting account.
In this guide, we will show you how to customize these pages to provide useful information to your web visitors.
Prerequisites
- A domain name e.g. www.example.com
- Web hosting account that supports Cpanel
- Cpanel username and password.
Special Note: cPanel is the most popular web panel around and is offered as a standard feature by most web hosting companies.
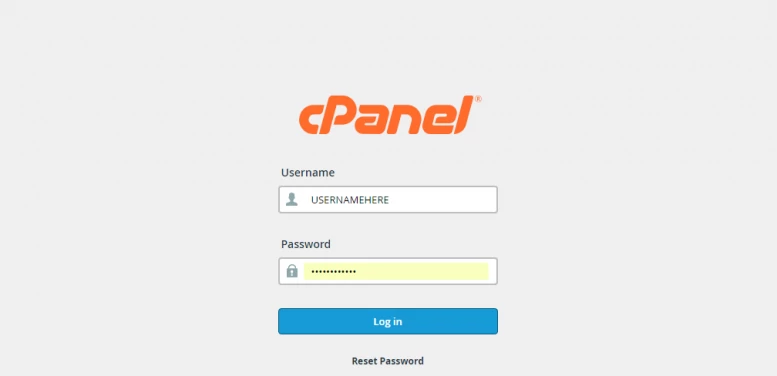
Step 1: Login to your cPanel account
Login to your cPanel account by visiting the url ‘http://www.yoursite.com/cpanel’. Remember to replace ‘yoursite.com’ with the primary domain name associated with your hosting account. Then, enter your username and password to log in to Cpanel.
Step 2: Locate Error Pages icon on the dashboard
On the search box, enter ‘error pages’ and click the icon that appears as shown below:
Step 3: Edit error pages depending on your domain
On the next screen, you will see a list of all error pages and an option to select a domain name associated with each page. This feature allows you to create different error pages for each website. Just select your domain from the drop-down box and click any error page to edit it. For instance, you may edit the ‘404 (Not found)’ page as shown below:
On the next page, you will see a blank page that you can customize according to your needs. You can also insert tags including referring URL, visitors IP address, requested URL, server name, visitor’s browser and redirect status code.
You can take advantage of all these features to provide more information to your visitors. For instance, we can enter the text below to customize the 404 (not found) error page:
- Sorry, we can see you came from <!–#echo var=”HTTP_REFERER” –> <br>
- and your IP address is <!–#echo var=”REMOTE_ADDR” –><br>
- Unfortunately, the URL you requested (<!–#echo var=”REQUEST_URI” –>) <br>
- was not found on our <!–#echo var=”HTTP_HOST” –>. <br>
- You may contact us at admin@example.com <br>
- and include the error code <!–#echo var=”REDIRECT_STATUS” –><br>
- as the subject of your email and we will get back to you.<br>
Remember to make changes on the file by clicking ‘Save’ at the bottom of the screen.
With that in place, any visitors trying to visit a non-existing page will see our custom 404 error page as shown below;
You can customize any of the common error pages including:
- 401 (Authorization required)
- 403 (Forbidden)
- 404 (Not found)
- 500 (Internal server error)
Conclusion
That’s all when it comes to creating custom error pages for your websites. Remember you can repeat the same procedure for any additional domain hosted on the same account. Although, we showed you how to edit the error pages in plain text, you might need to include styling effects to make the error pages more beautiful and match them to the theme and colors of your website. Courtesy of HostAdvice.


